

One of the most common failures in the Boxster is the Air/Oil Separator, also referred to as the AOS.
The AOS is basically a small diaphragm distillery which distills the minute amounts of oil mist in the crankcase, liquifies it and sends it back to the crankcase. The “clean” air is now sent into the air intake (after the throttle body) to be burned off by the engine.
When the AOS starts to fail it cannot separate all of the oil out of the mist and some liquid oil is sent to the air intake.
A few drops of oil is enough to generate the GREAT SMOKE BOMB for which our cars are famous for.
A big smoke bomb once in a while is completely normal, due to the architecture of the flat-6 engine, which may let a drop of oil flow into one of the combustion chambers sporadically.
But if you car smokes on a regular basis, this is the telltale sign of a bad AOS.
Don’t let it go on for too long because it will only get worse and eventually, enough liquid oil can pass into the combustion chamber to cause hydro-lock which may cause terminal damage to the engine.
Luckily, the AOS replacement is a DIY project that can save you substantial money.
Be forewarned though that you will require patience because the position of the part makes it uncomfortable for its removal.
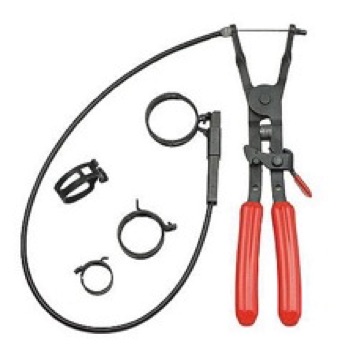
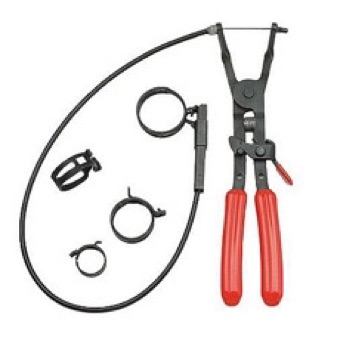
It is highly recommended that you purchase a spring clamp removal tool such as the one on the
photo.
This tool makes the removal
of the spring clamp much
easier and safer.
It can also be used in all
of the other OEM spring
clamps used in the car.
First you need to access the engine compartment. You can find instructions here.
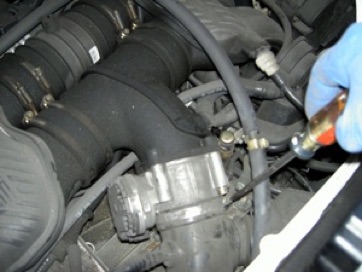
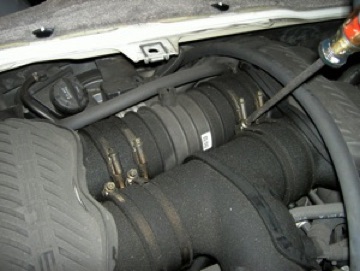
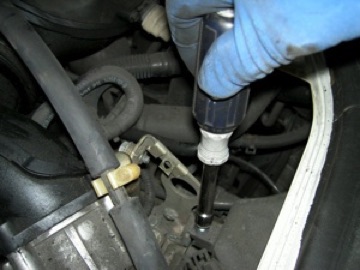
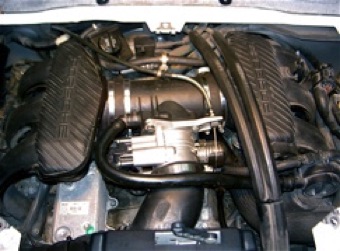
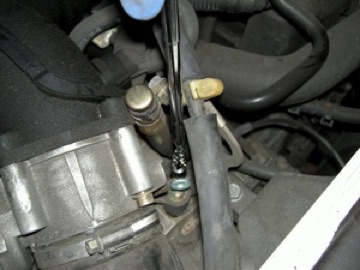
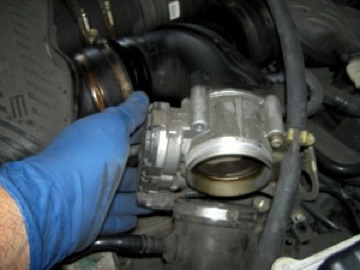
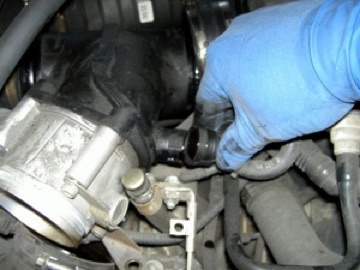
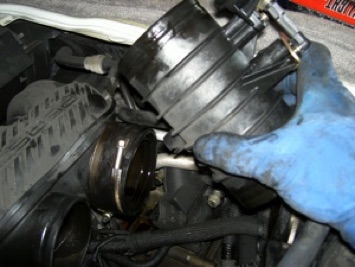
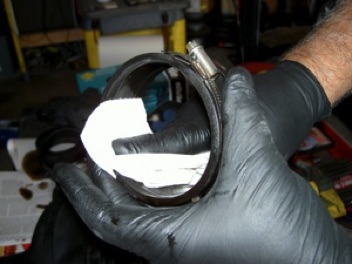
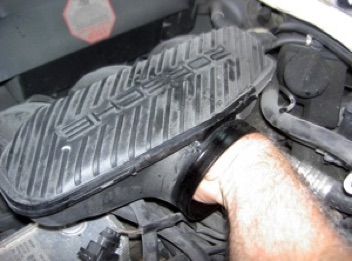
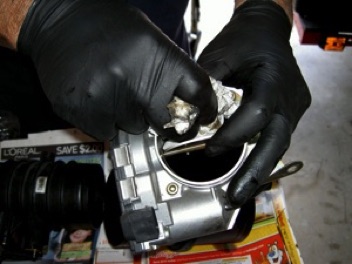
Start by loosening the clamp which secures the air intake tube to the throttle body.
Now loosen all the clamps that secure the intake tee and the crossover tube to the plenums.
The 2.5 liter cars will only have the tee, and not the tube.
3.2 Liter
2.5 Liter
Once loose, remove the 10 mm hex nut that secures the throttle body to the engine bracket.
It is a good idea to have a magnetic pickup tool handy. I dropped the nut and the only way to retrieve it from the top of the engine was with the magnetic tool.
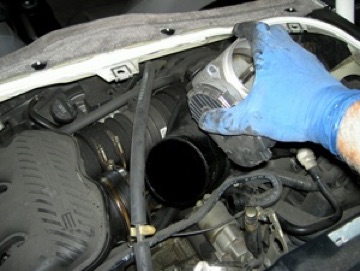
You can now pry off the air intake tube from the throttle body.
Rotate the throttle body upwards while pushing back on the air intake tube.
Disconnect the flexible tube from the AOS to the tee.
Press on the ribbed portion of the connector while pulling away from the tee.
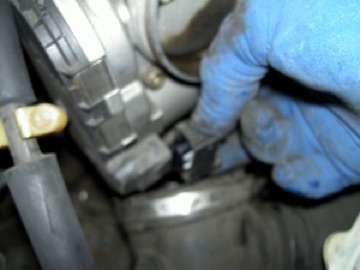
On the 2.7 and 3.2 liter engines, you need to disconnect the e-gas throttle connector on the throttle body. Press the tabs and pull.
On the 2.5 liter cars you’ll need to remove the throttle cable from the throttle body by twisting the cam clockwise and releasing the cable.
Also remove the cable from it’s holder on the tee.
Push and or pry the rubber connectors that hold the tee and cross tube to the plenums as far as they will go towards the intake plenums.
You can now push the end of the tee towards one plenum which will give you clearance on the other end to lift out of the rubber connector.
Due the same with the cross tube.
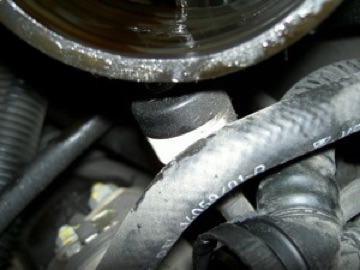
Take note that the white and black check valve is attached to the right side rubber connector. You will have to put it back upon reinstallation. Note that the black portion points upwards.
Also note that the cross tube has a vacuum line that controls the inner flap. Disconnect the vacuum line before removing the cross tube. It will have to be reconnected upon reinstallation.
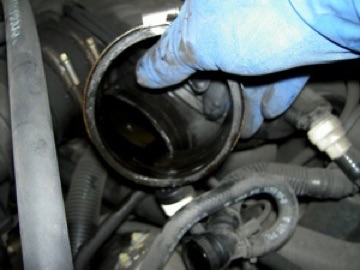
Now would be a great time to clean the rubber connectors, the cross tube (if present) the inside of the intake plenums and the throttle body. You’ll be surprised at how much oil can accumulate on them.
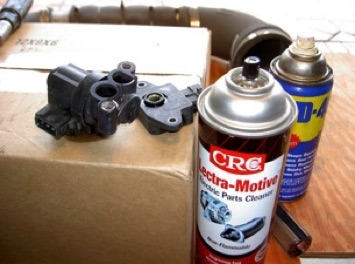
On the 2.5 liter cars it’s also a good idea to clean the idle control valve mounted on the throttle body as well.
2.5 Liter
Idle control valve
1999
2003
1999
2003
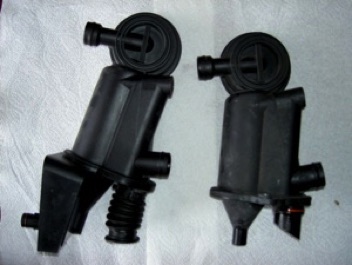
Depending on the model year the AOS will be slightly different.
The one on the left is from the 2,5 liter cars while the one on the right is from an ’03.
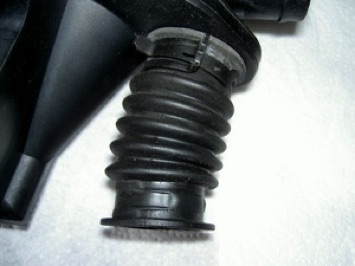
You will note that the 2.5s have the bellows tube while the newer one does not.
Depending also on the model year the mounting hardware will be slightly different.
The newer cars will have the AOS bolted onto the engine from the top, while on the older cars it will be mounted from the side.
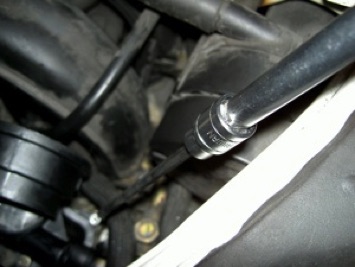
A long 5 mm hex socket comes in very handy when trying to reach the deeply seated allen head bolt.
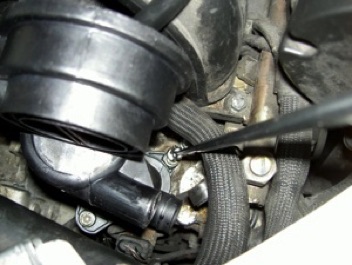
Remove both bolts.
Using the special hose clam tool open the spring loaded clamp on the top of the bellows tube for the 2.5 liter engines or on the top of the rubber sleeve for the newer cars.
With the spring clap open and the hardware removed you can pull up on the AOS to remove it.
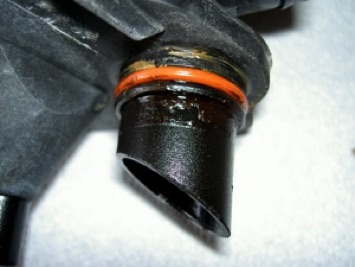
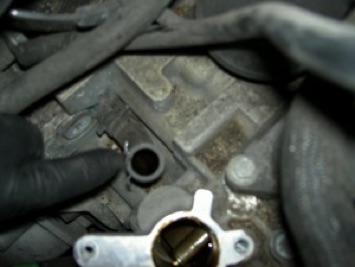
On the right you can see my (gloved) finger pointing to the clamp on the rubber sleeve after the AOS has been pulled out.
You can also see the on the lower edge the AOS base on the engine and the two threaded holes for the securing bolts.
With the AOS out of the way it’s a good time to clean some of the oil that may have leaked onto the top of the engine if the bellows was cracked or just from the rubber sleeves on the intake plenums.
A lot of oil can pool in some of the engine’s nooks and crannies.
Installing the new Air/Oil Separator is much easier than removing it.
The spring clamp will be held open by the special tool, so just drop it in place, making sure that the lower nipple fits into the bellows or the rubber sleeve.
Once it slides in you can release the clamp so it secures the nipple.
Sometimes the nipple slides into the sleeve easier if you coat it with a little engine oil.
Another tool that’s very helpful is a telescoping, magnetic pickup tool.
I use it to lower the bolts into place and start the threads.
Once the bolt starts to grab you can then use the socket to finish tightening.
Finish the installation in reverse order of the removal.
Don’t forget to pay special attention to the vacuum line and the vacuum check valve. It’s easy to overlook them and if you do you may get a rough idler and a check engine light.
Don’t forget to reconnect the e-gas control on the throttle body or the throttle cable on the non e-gas cars.
Happy Boxstering,
REPAIRS
Replace Air/Oil Separator
(AOS)
The following images of the procedure was done on a 2003 Boxster S (3.2 liter).
The procedure is very similar for all Boxsters, but if you have one of the three 2.5 liter model years (’97, ’98 or ’99) you can find additional information on throttle body removal by clicking here.

