


Some time ago I noticed that my car was running a little hotter than normal.
I thought it was just the summer weather or that I had some debris in the radiators.
So I decided to clean out the radiators... the problem persisted.
I then started testing the radiator fans, by waiting until the car reached 186 degrees to see if they kicked in at low speed and then switching on the A/C which kicks in the high-speed of the fans.
One of my fans was not working at all while the second only worked at the low speed.
So, I decided to replace them.
The car did have 190,000 miles, at the time, many run in South Florida hot weather and about 10,000 of those miles have been hard track miles.
You’ll need an assortment of metric wrenches and/or sockets ranging from 10 mm through 17 mm.
You’ll also need a screwdriver and pliers to pry out some of the wheel-liner fasteners.
Also, a small set of Torx driver bits will be needed to install the fan motor.
Raise the corner of the car that you’ll be working on. Make sure it is secure. Placing a jackstand is recommended.
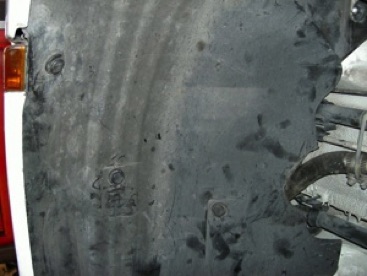
Looking here at the left front wheel-well remove the three plastic fasteners.
It’s easier if you first pry open the plastic head and then pull with pliers or similar.
Once the insert is clear of the fastener it can easily be removed.


Also remove the 10 mm plastic nut

There is one more plastic fastener which
secures the front of the liner just under the front bumper.
There are also some screws, depending on
the model year that finish securing to the
bumper skin.
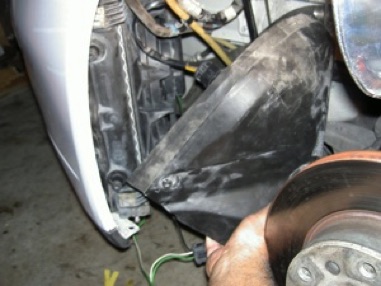
With the fasteners removed, you can now
bend the wheel liner back, out of the way.


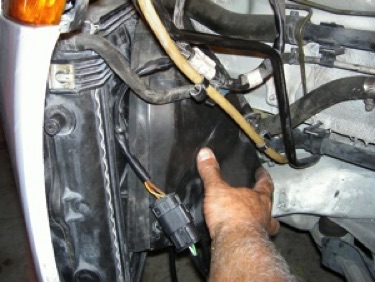
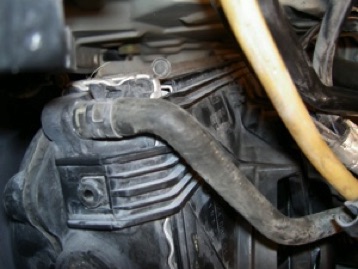
This is what it looks like without the liner.
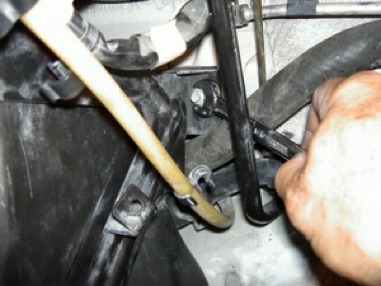
Unclip the headlight vent tube from the fender support brace and completely remove the brace.
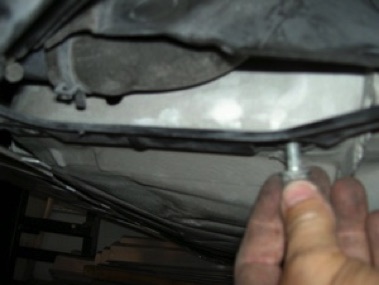
Remove the fan bracket fasteners.
There is one nut in the wheel well...
... and three bolts on the underside of the bracket.
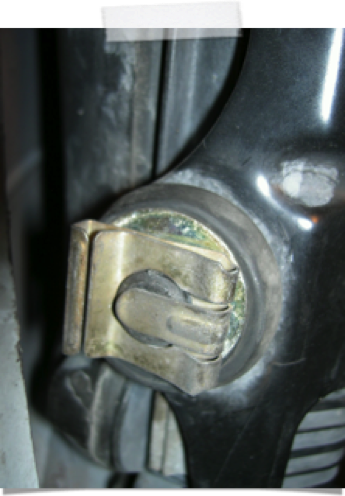
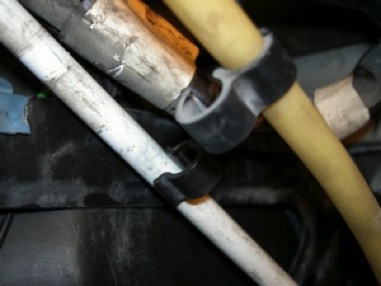
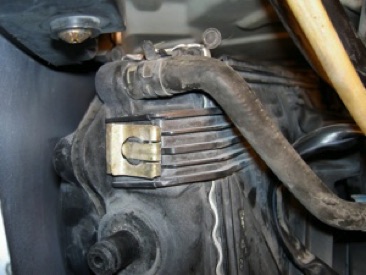
Finally there are two locking clips to remove.
I find that inserting a small flat screwdriver blade in the open end and twisting, opens the clip.
I can then use another screwdriver ti pry off the clip.
Once the two clips are off, remove the bracket.
Now you can remove the fan shroud.
It’s flexible so you can bend it a bit with no damage to the part.
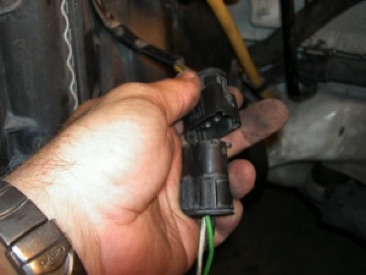
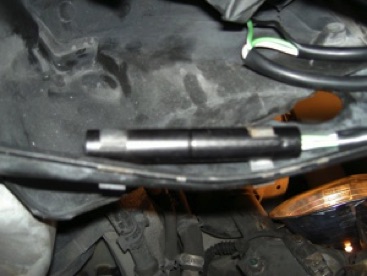
Disconnect the fan.
You need to pinch the safety latch and unclip
the resistor from the bottom of the bracket.
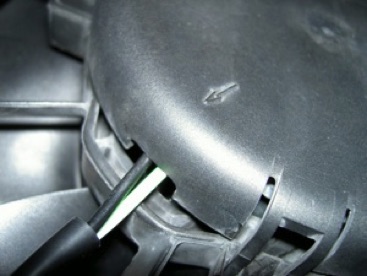
You now need to remove the locking clips that hold the fan assembly in place.
There is one on top and one on the bottom.

With the two clips off you can now remove the
fan assembly by pulling straight back
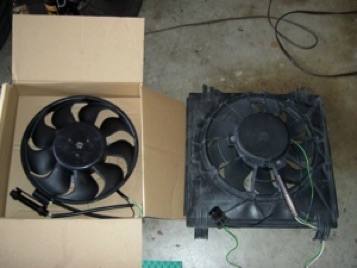
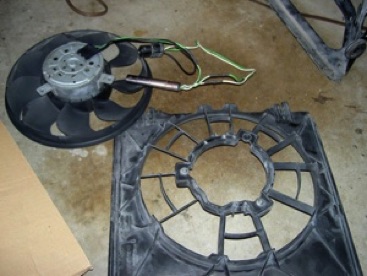
As you can see the old fan must be removed
from the mounting base and install the new
fan in place.
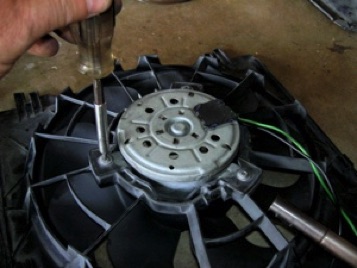

The fan is held in place with three Torx fasteners.
To access these, first remove the plastic cover.
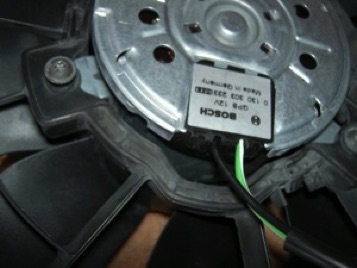
When mounting the new fan motor take note
that the wiring harness must be placed over
the extension on the base.
Rotate as necessary. Also note that the plastic cover has an arrow indicating where the wires
are to be located.

After the new fan is in place, re-assemble in reverse order.
Don’t forget to clip the new resistor in place.
Happy Boxstering,
REPAIRS
Replace Radiator Fans