
Revised Instructions
Because of the mid-engine layout of the Boxster and Cayman the engine is supported on three points.
On the rear, there are two transmission mounts which are gel-filled and hold up the back, but in front there is but a single point which takes all the weight and torque of the front part of the engine.
This, together with the heat emanating from the engine, slowly deteriorates the weak rubber core of the engine mount to the point where it completely separates.
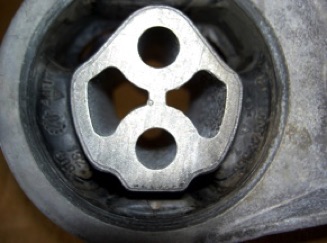
Once this happens, there will be more engine vibration felt, especially around 3,000 rpm.
If the mount is not replaced, the core will wear down more and clunking sounds will appear as you accelerate, brake and turn. Shifting also becomes sloppier and more difficult.
In extreme cases the aluminum ring may eventually fail completely and the front of the engine will come to rest against the firewall, possibly causing damage to the water pump, air conditioning compressor and various other components in the front of the engine.
The only way to determine if the Front Engine Mount is damaged is by removing it and visually inspecting it.
Tools needed for removal and or replacement:
• Car lift, ramps or sturdy stands (at least two)
• Hydraulic or Mechanical Jack
• Set of metric sockets and ratchet (13 mm - 19 mm)
• Extensions for ratchet and sockets
• Set of metric wrenches (13 mm to 19 mm)
• Pliers and Flat screwdriver to remove bottom panels
• Torque Wrench.
First make sure you have enough room to work safely underneath the car by placing it on a lift, on 4 stands or by backing it up on sturdy ramps.
Remove the front and rear undercarriage panels by removing the plastic clips and the plastic nuts.
Use a flat screwdriver to pry of the clips. For the nuts, a wrench or socket will do.
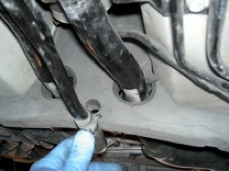
Remove the two plastic clamps that hold the coolant tubing in the tunnel.
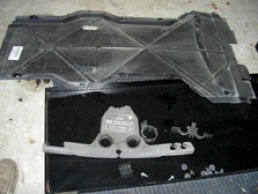
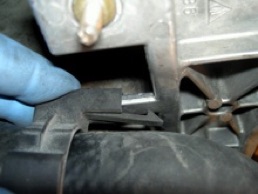
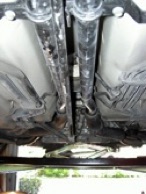
Move forward the two clamps that hold the coolant hoses to the engine support mount. Don't undo them, just slide them forward on the hose itself.
Put a jack under the engine, on the crossbar just in front of the oil pan and jack until it just supports the engine.
You can use a hydraulic jack
or a mechanical (scissors) jack.
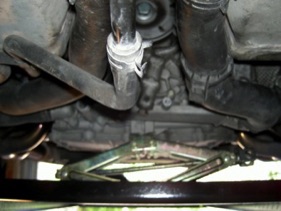
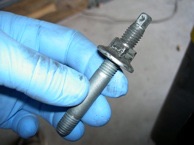
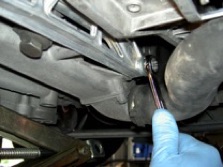
Remove the four nuts (15 mm) that hold the engine front support yoke. If the nut comes out with the stud, don't worry. If only the nut comes out, remove the studs as well (the tip of the stud is a 7 mm hex).
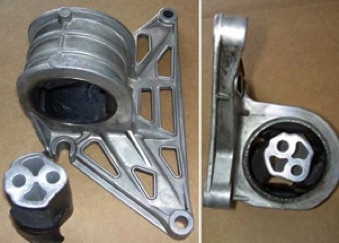
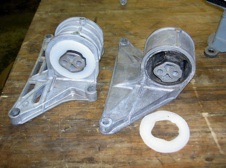
There are two basic types of engine mounts.
The earlier models (1997 and some 1998) had a “solid” base mount as the one on the right side of the picture. Newer models have the “open face or grid” type as shown on the left side.
Either mount will fit all models.
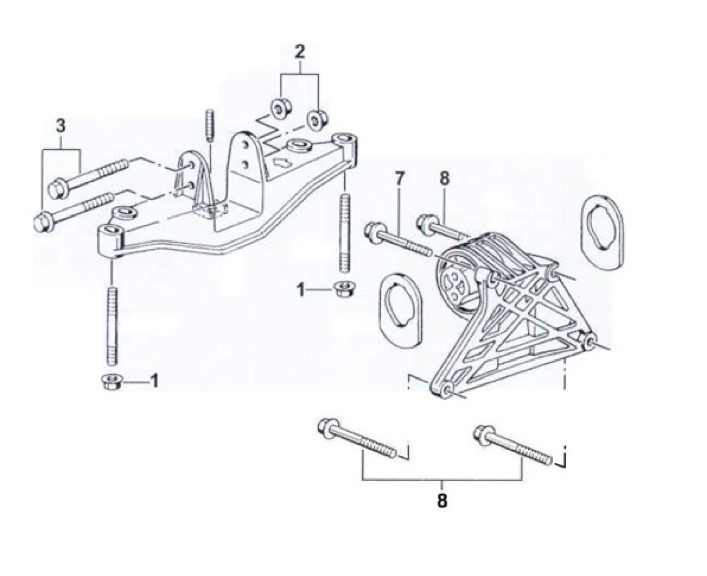
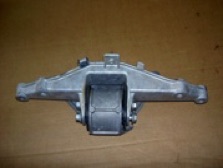
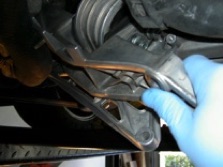
The engine mount is attached to the front of the engine via three bolts. The Front Engine Yoke is attached to the car’s body via 4 fasteners, and the Front Yoke is attached to the Engine Mount via two bolts. This is a view of the engine mount mounted on the yoke. The engine mount base is difficult to see, because it is below the yoke.
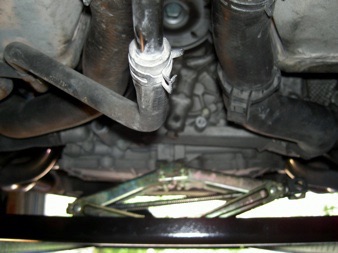
After the four studs have been removed, and to make the job easier, lower the engine about 3” by lowering the supporting jack. This will give you much better access to the upper bolts that secure the Engine Mount to the Engine itself.
Now this is where you need patience.
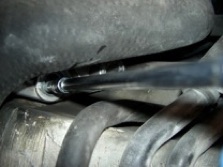
Loosen the two top bolts (15 mm) that hold the Engine Mount to the engine. Don't remove the driver's side, just leave it loose.
Do the same for the passenger's side. For this you'll meed a (15 mm) hex wrench and or a small (15 mm) socket with ratchet. It's difficult because the bolts that hold the engine mount to the engine mount yoke don't leave much room to work with.
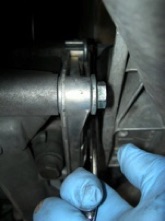
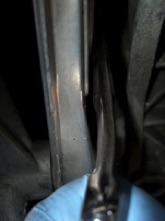
Now this is where you need patience. Loosen the two top bolts (15 mm) that hold the Engine Mount to the engine. Don't remove the driver's side, just leave it loose.
Do the same for the passenger's side. For this you'll
need a (15 mm) hex wrench and or a small (15 mm) socket with ratchet. It's difficult because the bolts that hold the engine mount to the engine mount yoke don't leave much room to work with.
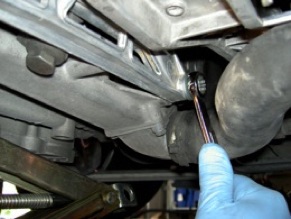
Now the whole assembly (Engine front support and support wishbone) should be completely loose and free. Manually force the coolant hose over and wiggle the assembly until it comes clear and remove.
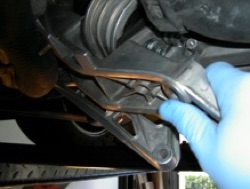
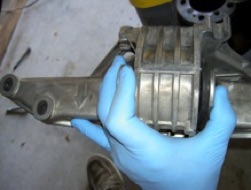
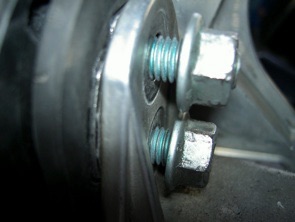
Note the position of the engine mount on the yoke and remove the two bolts that hold them together.
This is a good time to clean the
yoke.
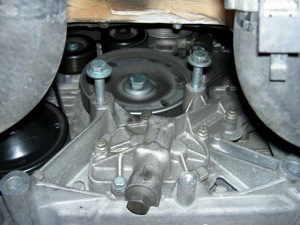
To the right is a view of the front of the engine without the engine mount.
You can notice the position of the two top bolts that only need to be loosened and not removed completely.
Before you go out and purchase a new Engine Mount, we would like to tell you that we offer remanufactured front engine mounts. These are stronger than OEM because we were able to source the OEM supplier to Porsche and we offer you the latest version of the center core which dampens vibrations better and lasts longer than the original mount.
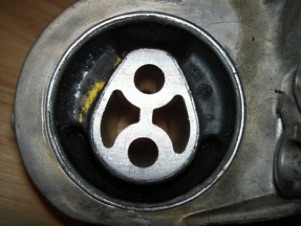
You can now assemble the new engine mount to the yoke. Wiggle the assembly back in place and insert the two bottom bolts on the engine mount. Slowly raise the jack (engine) back to it's original position and reverse the removal procedure. Now you won't have the 3000 rpm vibration anymore.
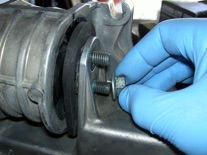
Tighten all the hardware according to specs:
• No 1 - hexagon nut M10: 34 ft-lb (46 Nm)
• No 2 - hexagon nut M10: 34 ft-lb (46 Nm)
• No 3 - hexagon head bolt: 34 ft-lb (46 Nm)
• No 7 - hexagon head bolt: 34 ft-lb (46 Nm)
• No 8 - hexagon head bolt: 34 ft-lb (46 Nm)
Happy Boxstering,
Pedro

MAINTENANCE
Front Engine Mount
There are two rubber spacers mounted on either side of the engine mount’s core which may be worn or missing. It may be a good idea to have a couple just in case. Porsche part No: 986.375.255.01
You could also make them from 1/8” rubber

