
We all love driving our cars, so eventually we’ll get a puncture.
I’ve had five in 12 years (195,000 miles) of Boxstering.
Tools Needed:
• Wheel lug wrench
• Jack
• Tire repair kit
• Electric (12 VDC) air compressor
• Pliers
The older models have an emergency spare tire in the front trunk, but this tire is to be used at low speeds (55 mph maximum) and short distances (50 miles maximum). They are also inflated to 60 psi and in most cases, since they are stored out-of-sight, when needed, the pressure has slowlydropped to unusable levels.
In the spare tire’s rim are the factory tools and scissors jack to perform the operation.
But I’ve found that it takes less time and less effort to repair your tire (in situ) than to remove the punctured tire, install the emergency spare, drive to a tire store, have the puncture repaired, replace the tire, and store the spare. And, the newer models don’t have the spare at all!
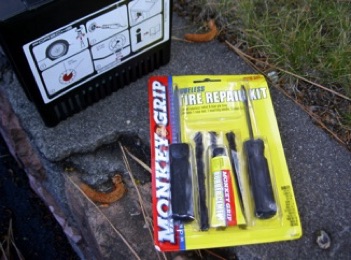
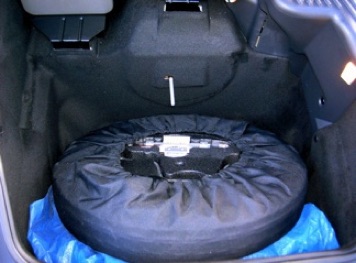
I need to point out that not all punctures can be repaired. If the tire has the sidewall punctured, it should NOT be repaired. However most punctures of the tread (contact patch) may be repaired unless the tire has been torn open or has a large gash.
For the majority of punctures, caused by nails, screws and similar, here’s what to do:
Once you notice that you have a flat, carefully reduce your speed until you can safely stop away from traffic.
Make sure you don’t put yourself in danger. If you have emergency triangles, place them a few hundred feet before traffic sees your car. Also make sure your emergency flashers are on and you are visible to traffic.
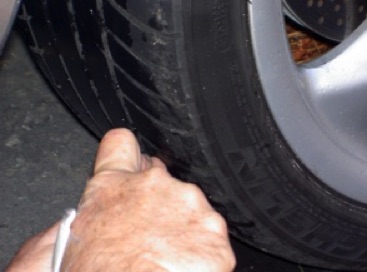
Now you need to find the culprit.
If you can’t see it immediately, roll your car a few inches forward or backward and check the tire again.
Once you identify the cause, you can opt to fix it in place (if you have enough room to work) or you can remove the tire and work more comfortably.
To remove the tire:
a) Take the wheel lug wrench from the tool kit
and loosen every lug.
Note that most Boxsters have a tamper
proof lug bolt on every wheel and you will
need to use the factory-provided matching
socket.
b) For extra safety, make sure the car cannot
roll off the jack by wedging an object under the
other tires, using it as a wheel chock.
c) Once the lugs are loose, place the scissors
jack in place and slowly raise the car.
d) When the wheel is off the ground, remove the lug bolts and pull the wheel off.
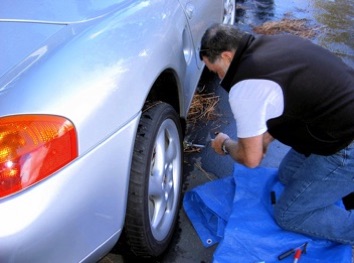
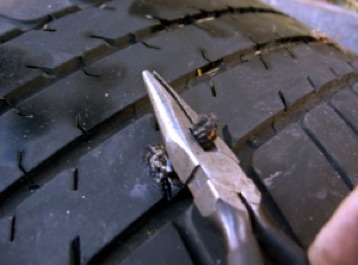
Using pliers pull out the nail or screw.
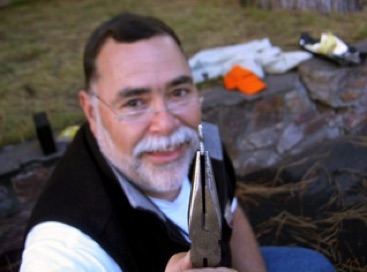
Using the special tool, ream out the puncture.
Because of the steel belts in some tires, it could be hard work.
But this step is necessary to ensure a good puncture seal.
Place the plug in the “pickle fork” tool and apply cement liberally on both the plug and the puncture.
The cement will act as a lubricant allowing the plug to go in easier as well as sealing the puncture.
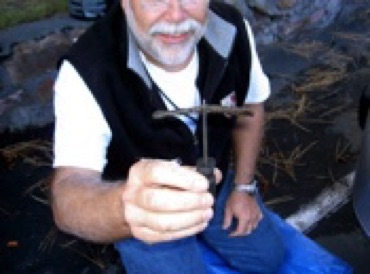
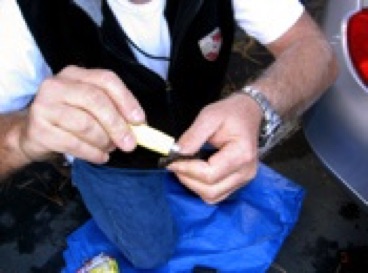
Quickly (before the cement dries) insert the plugging material using the “pickle fork” tool.
By using a quick in-and-out motion, the plug will remain in place when the tool comes out.
You can now cut the protruding plug off with wire cutters. If no cutting tool is available, leave it. It will wear out as you drive.
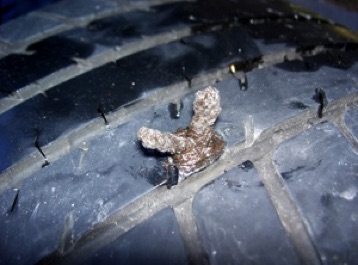
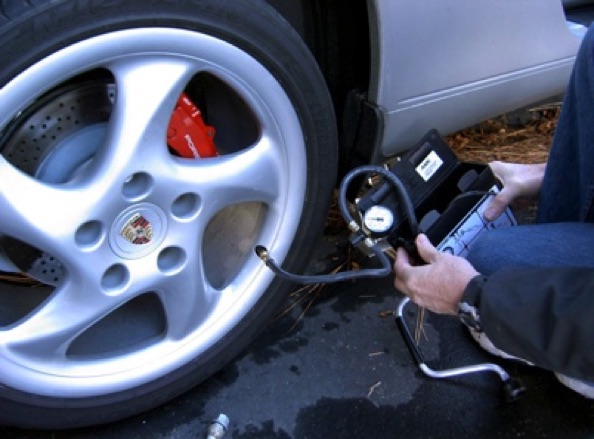
Using a portable, 12 volt air compressor, inflate to recommended pressure.
If you removed the tire, remount and tighten lugs lightly.
Lower the car and finish torquing the lugs (96 ft-lb).
Store jack and tools.
This repair was actually performed during the West Coast Boxster Fest (WCBF ’07) in Lake Tahoe, NV. on my loaner Boxster “S”.
I want to thank MartinJF for taking the photos and more importantly, for letting me use his tire repair kit and his portable air compressor.
Thanks, Martin.
You saved my day.
Happy Boxstering,


REPAIR
Fix-a-Flat

