

Although Porsche claims that the coolant in our cars is a lifetime coolant, many people feel that they need to replace it as a preventive measure, especially when the vehicle has high miles, or if work needs to be done such as adding a third radiator, replacing a coolant hose, replacing the thermostat, replacing the water pump, etc.
I was personally testing the lifetime theory, but after 190,000 miles, I also decided to flush it.
Let it be known that the coolant I collected looked surprisingly clean and clear, even after 12 years and approaching 200,000 tough miles.
These are the tools you’ll need to get the job done:
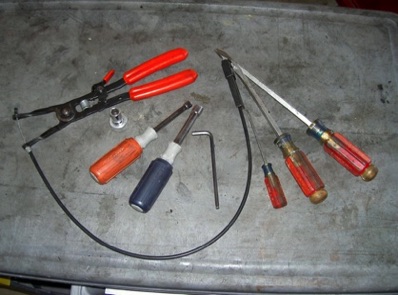
• Hose clamp tool (or pliers)
• 7 mm socket
• 10 mm scket
• 5 mm hex Alllen wrench
• Assorted flat-blade screw drivers
You’ll also need a 5 Gallon bucket to collect the old coolant mix.
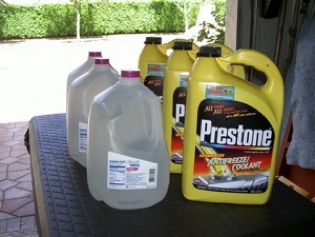
I chose not to go with the Porsche coolant.
If you do the same, be sure to get phosphate, silicate and nitrite free product such as Prestone.
The Porsche Boxster, depending on model year has a coolant capacity of nearly 5 Gallons. So, you’ll need 3 Gallons of Coolant and 3 Gallons of distilled water (or 6 Gallons of coolant mix 50/50).
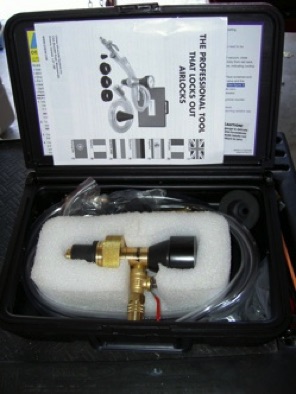
I also used a very nifty tool that suctions back the new coolant mix by creating a vacuum in the system.
It’s made by AirLift.
This also allows for testing the system by watching to see if it will hold a vacuum for a few minutes.
More details on the system later.
You can also refill the system manually. If you choose to do so, you’ll need to purge the system of all air. Instructions for purging can be found under the DIY
Project: Installing 3rd Radiator.
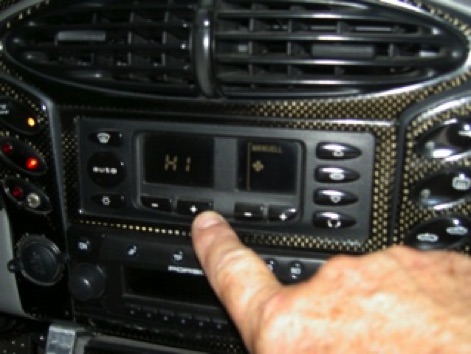
Start by turning on the ignition switch and setting the cabin heater as high as it will go.
This opens the valves for the heater coils and
allows for complete flushing by eliminating pockets of trapped air.
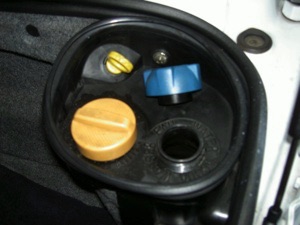
Also, remove the (BLUE) coolant cap.
Remove the rearmost plastic under panel to gain access to the coolant drain and coolant hoses.
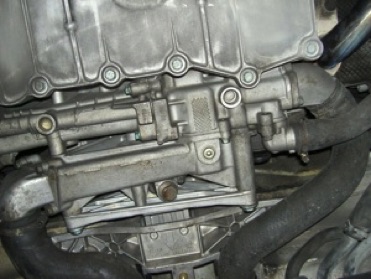
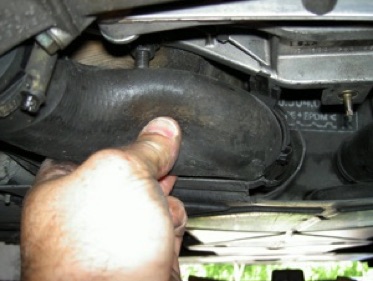
e
Looking up to the bottom of the engine, locate the coolant drain plug.
You’ll need the 5mm hex (Allen wrench).
Have the 5 Gallon bucket ready to catch the gushing coolant.
To get most of the coolant you, you can help
by squeezing the coolant hoses.
After the coolant stops draining, you’ll need to loosen the coolant hose clamps and disconnect the hoses. Be careful because there’s still plenty of coolant left in the system.
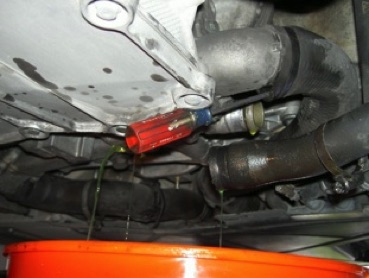
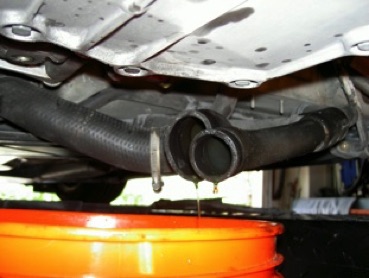
It’s also wise to have a second container in order to catch the different drips from the disconnected hoses.
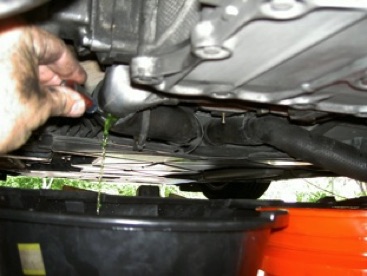
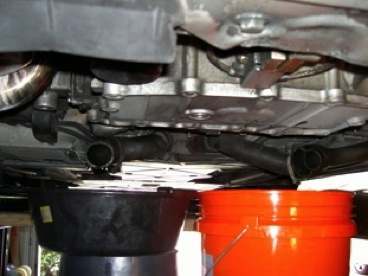
Once the hoses stop draining, raise the front
end of the car with a jack.
There’s still more coolant in the front radiators
and their plumbing.
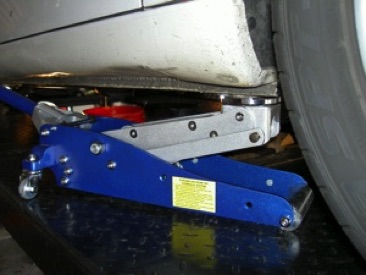
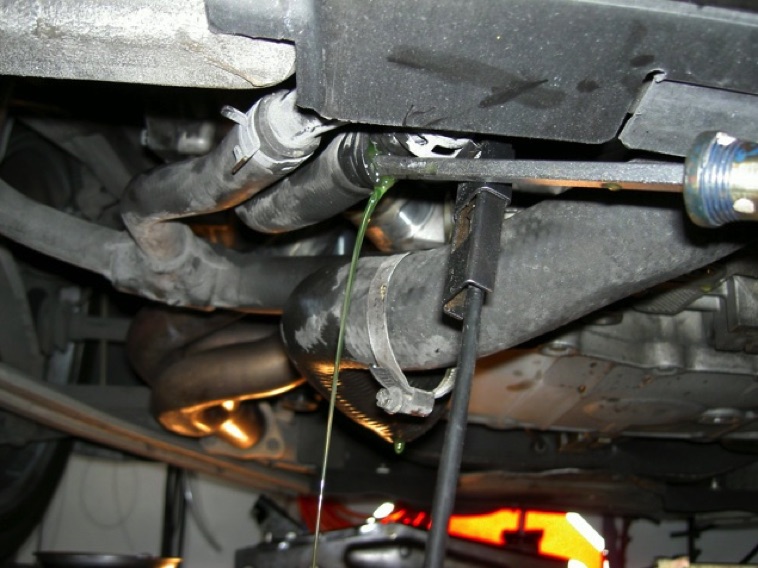
Using the hose-clamp tool or a pair of pliers, loosen and remove the spring clamp fastening the coolant line indicated in the picture above.
Let the system drain completely. You may also want to raise the other front corner of the car in order to get as much of the old coolant as possible drained from the system.
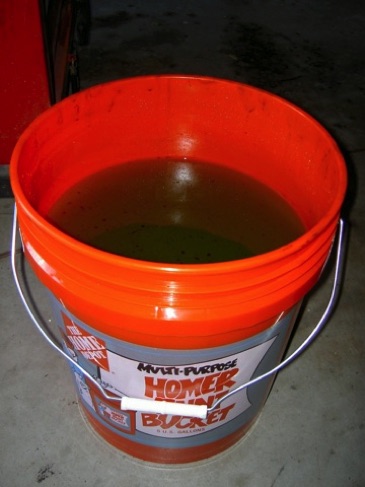
This is how much coolant came out
of my ’98 Boxster. Almost 5 Gallons.
You now need to containerize and label
the spent coolant and dispose of it properly.
It is illegal to dump coolant down the drain in most municipalities.
Check with your local authorities to find out where it can be taken for proper disposal.
Ethylene glycol, the major component of coolant is poisonous.
Please keep away from children, unknowing adults and animals.
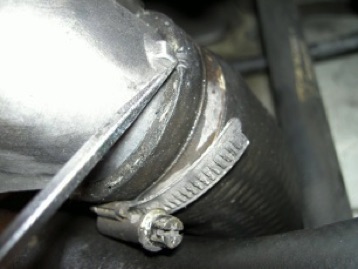
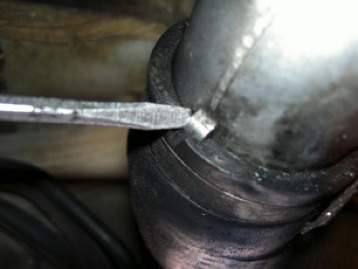
Now it’s time to replace all the disconnected coolant hoses and clamps.
Note that the main coolant hose fittings have a “stop” point to which the hose needs to butt against. Make sure they are secure and tight.
It is now time to mix your coolant with distilled water to get a 50/50 concentration. You can mix the 3 gallons of coolant and the 3 gallons of distilled water in the bucket (previously used to collect the coolant.
Whatever is left you can re-label Coolant Mix and can be added directly to the car if needed at a future time.
If you’re not using the Vacuum Tool, pour the fresh coolant mix into the coolant reservoir.
Please follow the System Burping Instructions found in our other DIY page here. Scroll down midway to find the burping and air-bleeding instructions.
For those using the Vacuum Tool, it’s now time to assemble it.
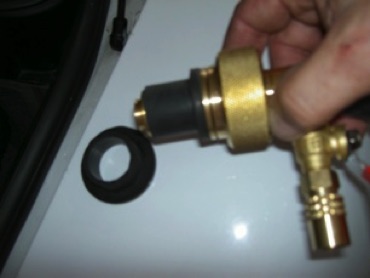
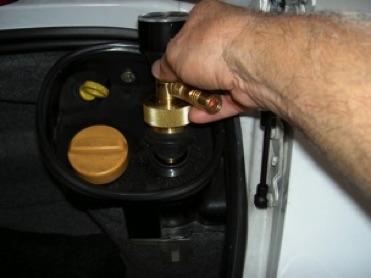
Find the right adapter to fit over the rubber sleeve so that it’s as tight as possible when placed in the coolant reservoir’s opening.
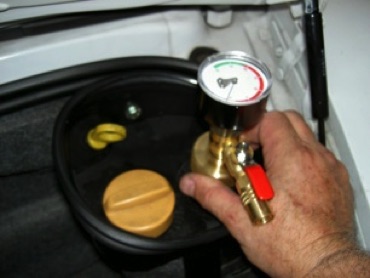
Once in, tighten the knurled brass ring until it’s secure.
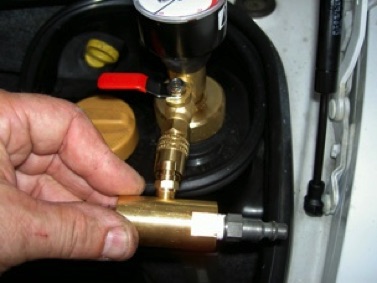
Now connect the venturi using the quick disconnect
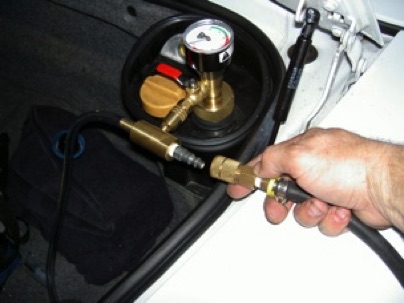
Finally connect your compressed air hose to the venturi.
You’ll need a minimum of 90 psi from your compressor.
Immediately air will come out the other end of the venturi.
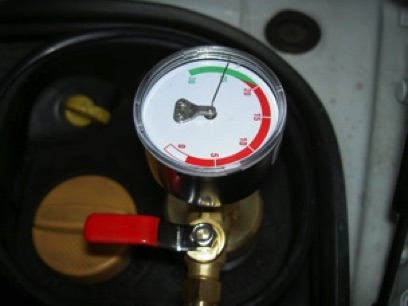
Open the red valve next to the vacuum gauge. Maintain the valve open until the vacuum gauge reads 25.
Close the valve.
Wait a few minutes and watch the gauge.
A proper system will hold the vacuum and the gauge’s reading will remain steady.
If the needle drops, find the loose connection and correct.
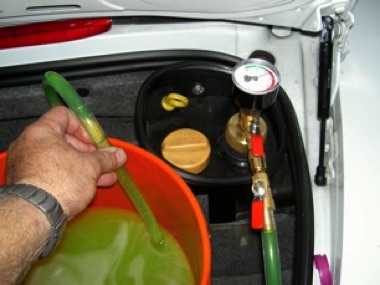
Place the bucket of fresh coolant mix in the rear trunk.
Remove the venturi assembly and connect the supply line.
Make sure the strainer end is in the bottom of the bucket. Don’t allow it to draw air.
Slowly open the valve and watch the needle drop as coolant is drawn into the system.
When the needle reaches zero, the system is full.
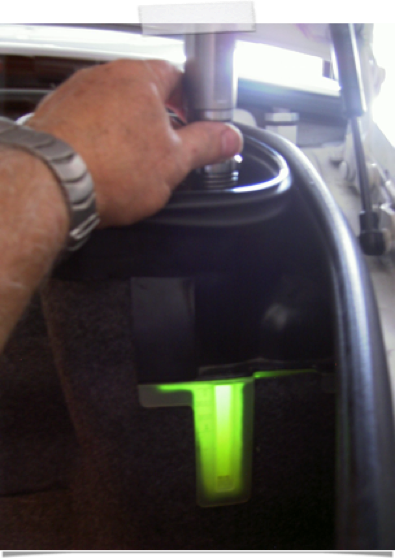
You can now disconnect the Vacuum Tool and replace the coolant cap.
Check your coolant level and add if necessary.
Shining a flashlight into the reservoir will allow you to easily see the coolant level.
Finally, replace the coolant cap and the bottom
panel.
Happy Boxstering,
REPAIRS
Flush Coolant (Antifreeze)

