
Parts, tools and materials needed:
• 10 Quarts of your selected oil (Porsche recommends Mobil 1 -
viscosities vary according to climate)
FOR THE LIST OF PORSCHE-APPROVED OILS (2016) CLICK HERE
• Oil Filter Element - OEM comes with O-ring (996.107.225.53) for 986 and 987 • Oil Filter Element - OEM comes with O-ring (9A1.107.024.00) for 981
• New Aluminum Crush Ring (900.123.106.30) for all models
• Spent oil collection container (make sure it has enough capacity to contain at least 10 qts.)
• 8 mm hex wrench with ratchet or 8 mm Allen Wrench for 986 and 987
• T50 Torx with ratchet for 981
• Filter Element Wrench (74/76 mm) for all models
• It is good to keep a new oil pan plug as a spare (900.219.009.30)
The above parts and part numbers are good for all Boxster/Cayman models and model years.
Parts and or tools and procedures specific to the 981 are highlighted in blue font.
Because I do so many oil changes I decided to hack a special and easy collection unit.
I used a 5 gallon bucket (with blue lid),
a large Funnel, a piece of chicken-wire
mesh and a piece (12”) of 1/2” diameter
clear tubing.
You can purchase a 5 gallon pail with a
snap-on lid at Home Depot or similar for
under $5.00.
The funnel fits in the lid’s opening. If there
is no opening, then make one large enough
for the funnel.
Thread the clear tubing through the funnel
secure the top with a zip-tie. You’ll need to
make two small holes for the zip-tie.
This is needed so that the funnel can
“breathe” while the oil is being drained which
allows for a free flow into the bucket with
no overflow.
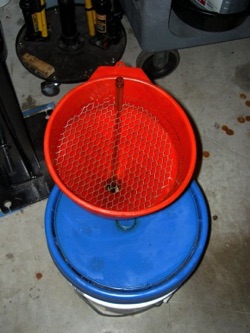
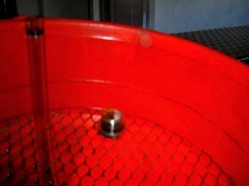
Cut a piece of chicken-wire mesh so that
it fits snugly on the upper part of the funnel
about 2” from the top. This will save the oil
pan plug from clogging the funnel or falling
into the bucket.
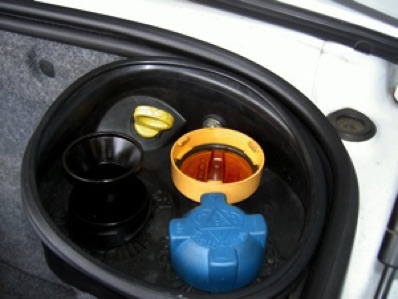
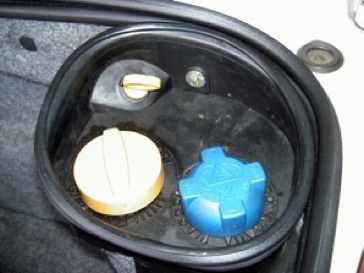
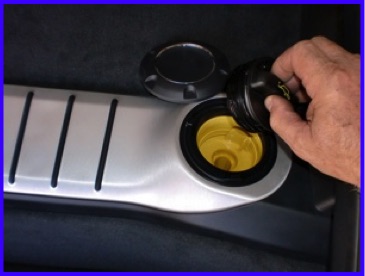
Remove the oil cap and set it aside.
This will speed up the draining oil
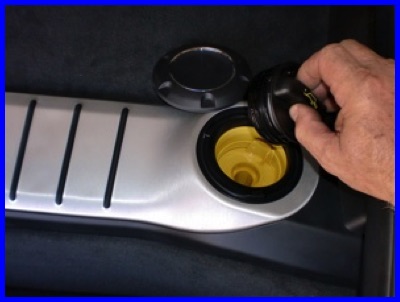
The 981’s oil cap is under the right (passenger) side cover.
Raise the car on a lift, on ramps or on sturdy stands.
You will need access to the area under the car between the rear wheels.
Find the aluminum oil drain plug in the center of the oil pan and place your collection container underneath.
Oil flows best when thoroughly warm (hot), so make provisions to protect your arms and hands by wearing gloves and having towels handy to quickly pick up any spills.
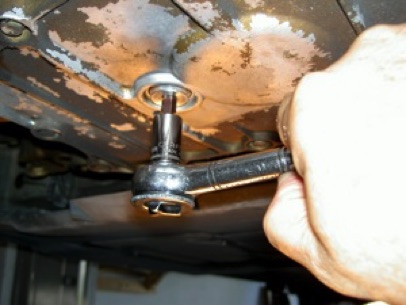
Using the 8mm wrench, loosen the aluminum drain plug.
It is easier to “crack” loose the plug with the ratchet and then removing the 8mm wrench from the ratchet, and finishing by hand.
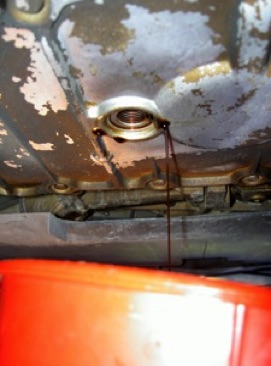
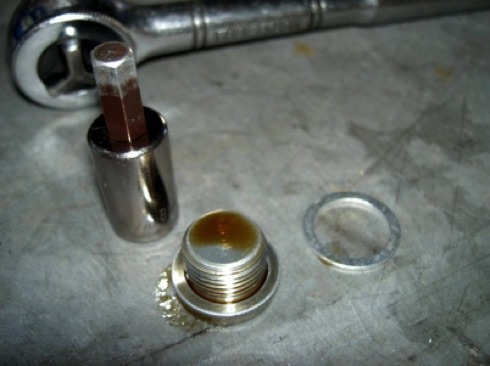
On the 981 the oil drain plug is on the rear part of the oil pan, not in the center.
The oil plug uses a T50 for removal and replacement. The aluminum crush ring is the same.
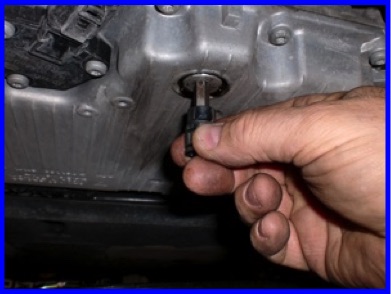
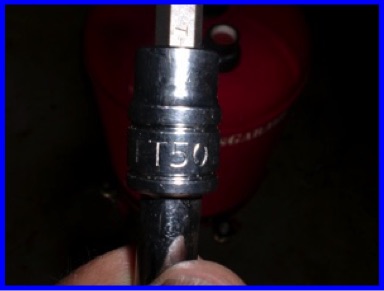
Once the oil has finished draining, replace the aluminum plug. Take your time and allow for all of the oil to drain out Don’t forget to use a new crush ring. This will ensure a tight seal without any oil leaks.
Now you can focus your attention on the Oil Filter.
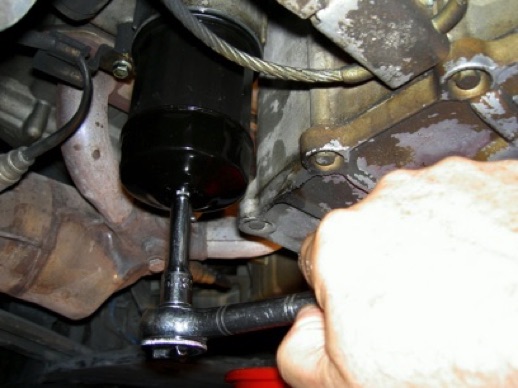
Using the 74/76 mm wrench
loosen the oil filter cartridge.
Once it’s loose, place the oil
collecting container under it.
You can now probably finish
removing by hand.
The 981’s oil filter is a little more hidden than on the 986 and 987.
It’s tucked up higher, on the left (driver) side of the oil pan.
It’s easier to use a long extension on the ratchet to loosen/tighten the canister. Once loose then you can remove by hand but because it must be maneuvered a bit, keep an oil pan under it to catch any spilled oil.
It uses the same oil canister and therefore the same removal tool, but the filter element is longer than in the 986/987.
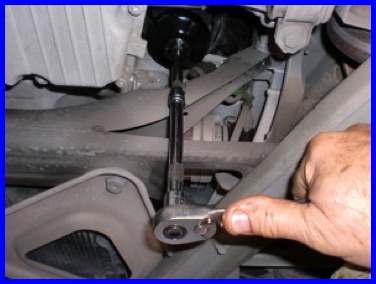
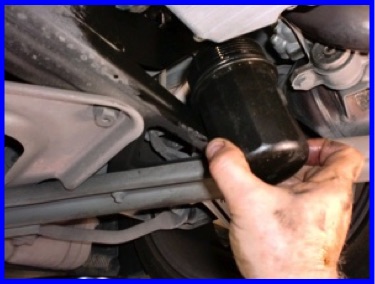
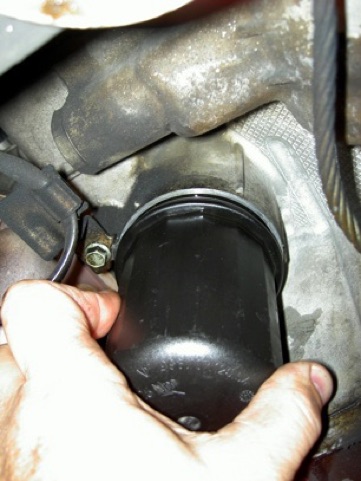
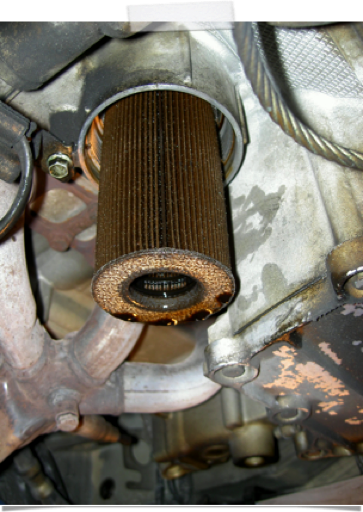
You can now tug down on the used filter element to remove from the engine.
Inspect the element and the canister to make sure that there are no metal flakes or particles.
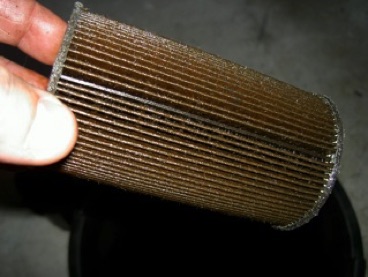
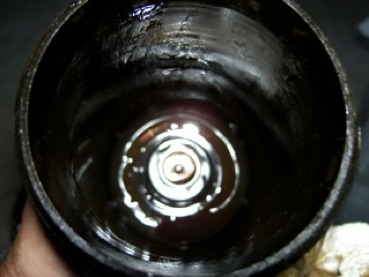
Remove the O-ring on the oil canister. Pry it off using a flat screwdriver and pull off.
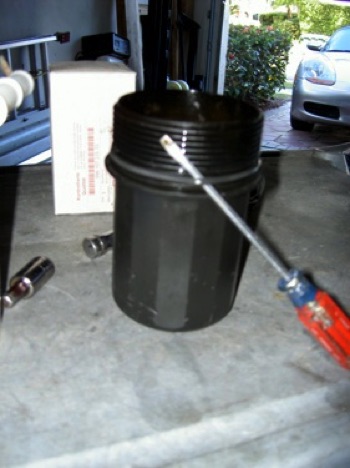
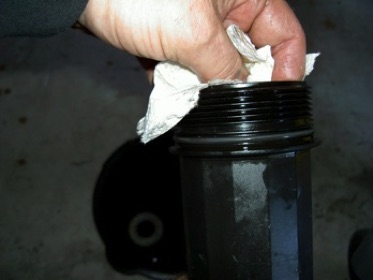
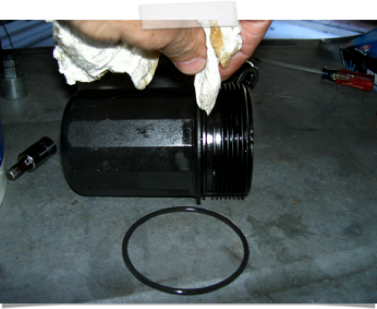
Clean the canister using a paper towel.
Clean the groove that holds the O-ring
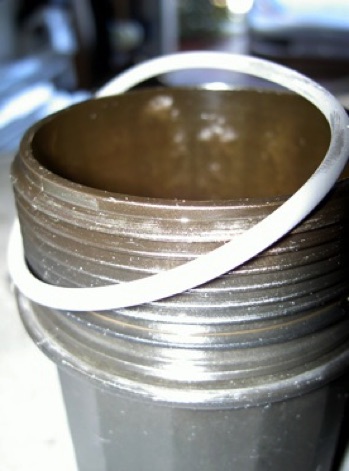
Install the new (supplied) O-ring in place
Drop the new oil filter element in the canister.
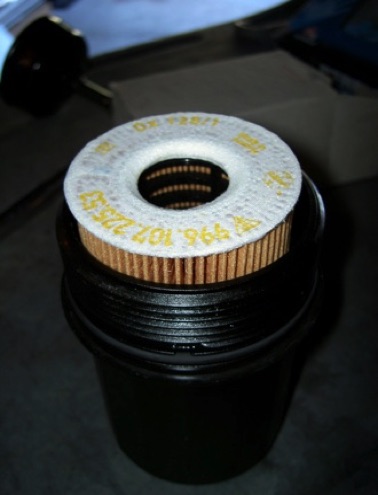
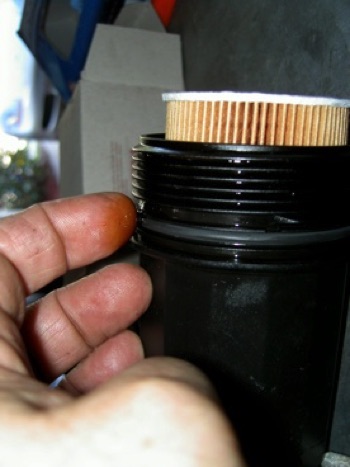
Dip the tip of your finger in the collected oil and lubricate the new O-ring.
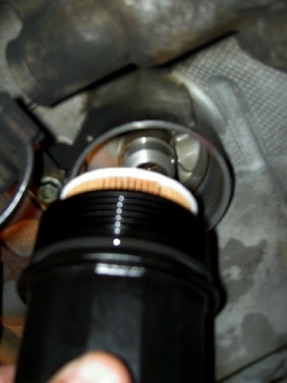
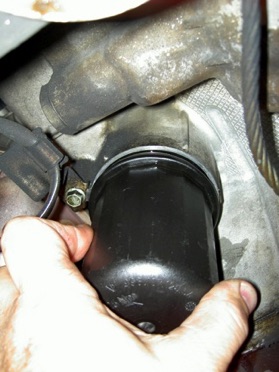
Screw in the canister with filter element by hand. Make sure you don’t cross-thread.
Tighten as much as you can by hand then ...
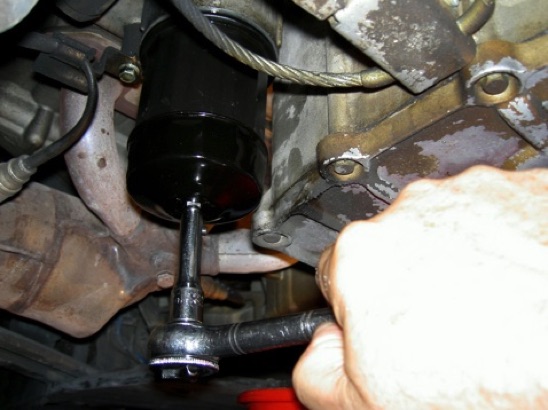
... tighten 1/4 turn with
the wrench.
That’ll get you very close to the recommended torque values.
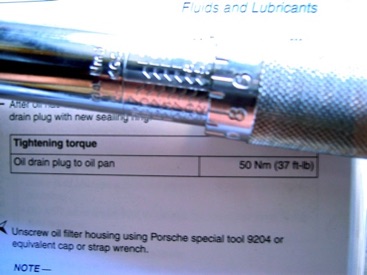
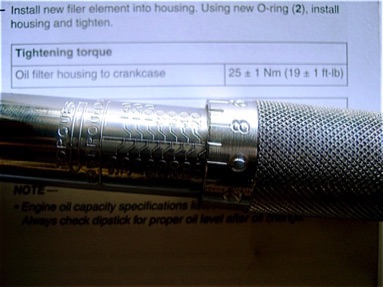
Below are recommended tightening torque values.
Oil drain plug to oil pan... 37 ft-lb (50 Nm)
Oil filter housing to crankcase ... 19 ft-lb (25 Nm)
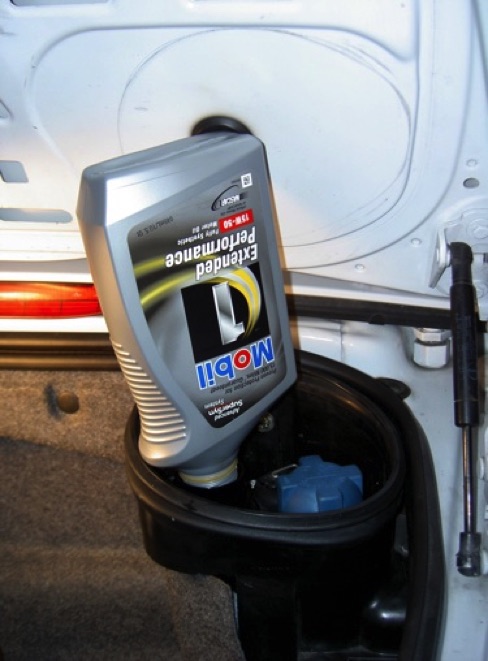
By the way, if you ever noticed the black plastic grommet
on the trunk lid and wondered what it was for...
Now carefully pour in 9 qts.
of your selected oil (986).
The 987 uses a bit less.
Check your owner’s manual for the correct amount of oil.
In the 981 it’s 8 qts.
Turn on the engine and wait for the oil lamp to go off.
This fills the filter canister with oil. Turn off the engine.
Wait a minute or so and check the level.
Note older Boxsters have digital gauge as well as a dip stick, but newer ones and Caymans only have the digital gauge.
Add more oil if necessary, but don’t overfill, so add just a bit at a time and measure again.

When you’ve reached the full level, replace the oil cap, and you’re done.
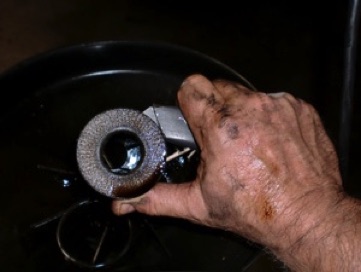
Now is a good time to inspect your oil filter element.
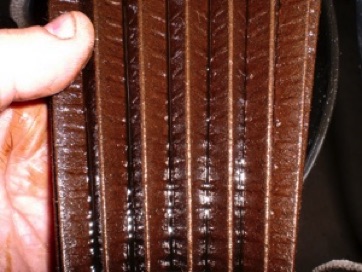
Cut off the two end caps and spread it out like an accordion.
Carefully inspect it, looking for metal particles or other debris.
Very small specs of aluminum are normal as is some plastic (gasket or chain tensioner) material.
There should not be any large metal pieces, shards or chips of metal. If there is any metal check to see if it is ferrous (can be picked up with a magnet). If you find these, consult a pro.
Happy Boxstering,

MAINTENANCE
Change Oil and Filter

