


Most of the maintenance between the 986, 987 and Cayman 987 is very similar and the instructions work for most, but the 981 is a different animal altogether.
Following is the step-by step for a complete engine air filter service for your 981 Boxster, 981 Boxster S, 981 Cayman, 981 Cayman S or 981 Cayman GTS.
The illustrating photos are from a Cayman GTS but they will be very similar for the Boxster as well.
First the engine air filters. That’s not a typo. Filters as in two of them.
Part Number: 981.110.130.00.
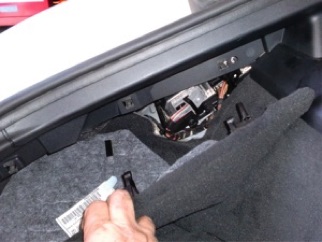
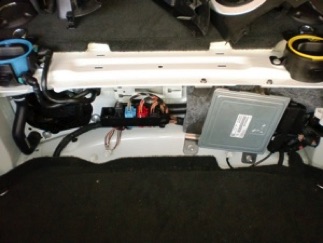
These are accessed from the rear of the cargo compartment in the Cayman and from the rear trunk in the Boxster.
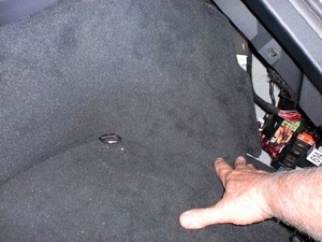
The filter housings are accessed from the cargo compartment but they protrude through the firewall into the engine compartment so you will need to remove the carpet lining.
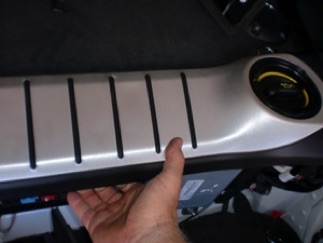
The trim pieces are all held in place by spring clips and will come out by pulling out.
As we said before, there are two filter air boxes housing two filter elements. In these instructions we will detail the removal and replacement of the right (passenger) side since it is a bit more involved. Once you replace this one you will see that the left (driver) side is much simpler and straightforward.
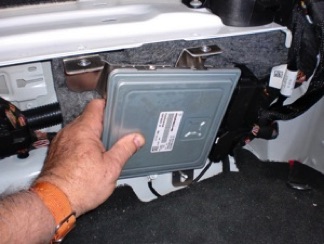
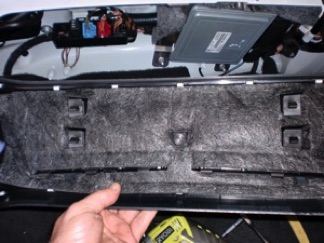
Once the carpet and lining is out of the way you will also have to move the DME. Don’t disconnect it. Just remove the two bolts on top and two nuts on the bottom that hold the DME’s frame in place. All four are 10 mm hex fasteners.
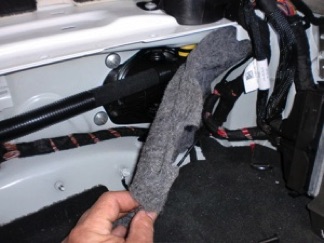
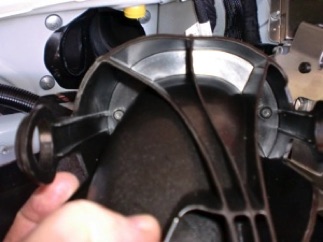
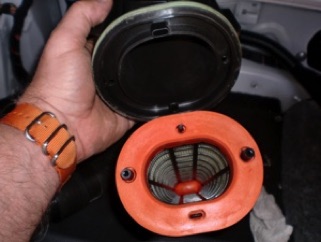
Now, pull out the insulating material and you will see the right air filter box behind it.
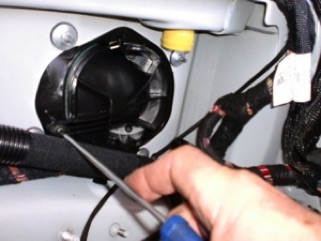
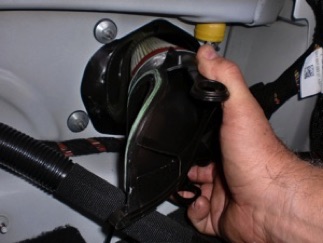
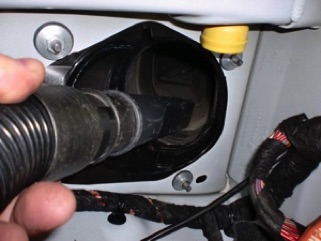
Before you can open the right airbox you will also have to disconnect the oil fill tube.
Press on the edge of the connector and pull down and ove out of the way.
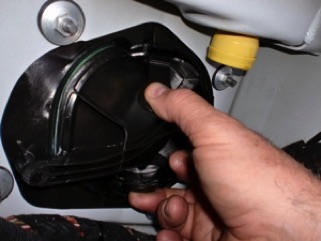
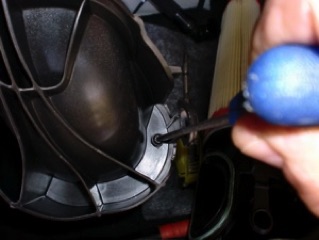
You can now remove the (1) Torx fastener that secures the filter housing. Once the Torx screw is out, grab the two pull tabs with your thumb and finger, squeeze them together and pull out. The first time this is done you may need to help the housing out by using a soft pry tool around the edge.
To replace the filter you need to remove the remaining two Torx screws that secure the air filter in place.
Before you install the new filter it’s a good idea to clean out the air box with a vacuum.
When installing the new filter element note that there are alignment tabs on the filter housing that need to match the alignment holes on the filter element. This assures that the element goes in the correct way.
Secure the new filter element with two Torx screws removed earlier.
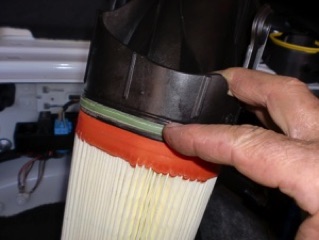
Make sure that the screws are tightened evenly and that the filter elements sits flush against the housing.
Now push the new filter into the airbox. Make sure it sits properly and the tabs are locked. Secure with the final Torx screw.
If working on the right side, reconnect the oil fill tube and put the DME back in place and secure with its four fasteners.
Time to replace the left filter.
Once both filters have been replaced, replace the insulating material, the carpet and trim pieces in reverse order and you’re done!
Happy Boxstering,
MAINTENANCE
981 Engine Air Filters