


Parts and materials needed:
• Soldering Iron
• 10 mm wrench or socket for panel removal
• Phillips Screwdriver
• Flat Screwdriver
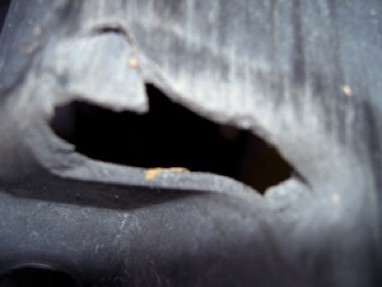
The car’s bottom protection is offered by the plastic under-panels which cover and protect important parts of the vehicle such as coolant, fuel and A/C lines, fuel filter, etc.
Road debris, age of vehicle and general road conditions greatly affects these panels causing breaks, rips and missing pieces.
Although the panels are relatively affordable ($100 - $200 each) many times repairs can be made that will make them last longer and protect their intended parts.

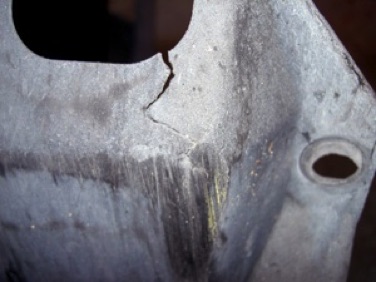
Because these panels are exposed to road grime it’s best to clean them before repair.
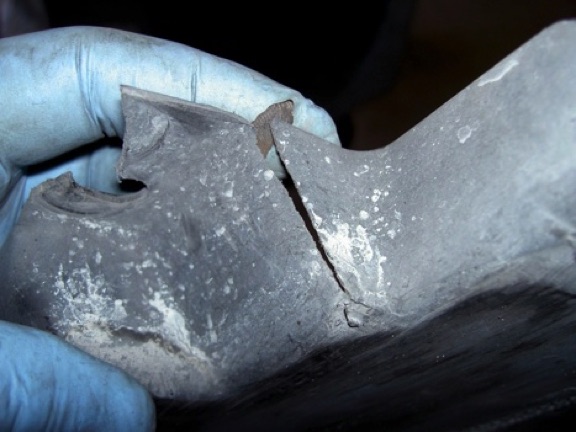
Plug in a fine point soldering iron (25-50 watts).
Hold the two sides of the crack together and with the tip of the soldering iron melt across the crack in stitch-like fashion. This acts as a tack-weld and holds the crack together.
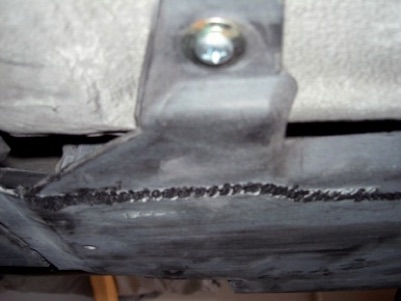
After you’ve done one side of the crack,
turn the panel ,over and repeat the
stitching on the other side.
Generally this is enough for longitudinal
cracks, and you can re-mount in place.
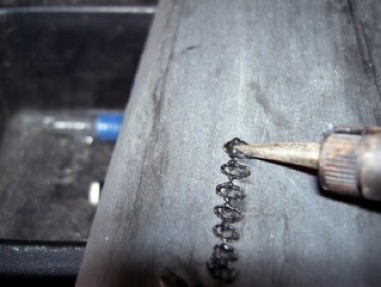
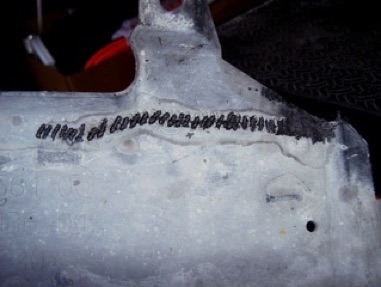
Where the panel has missing pieces you can repair using a similar piece of material cut roughly to size and welded in the same way.
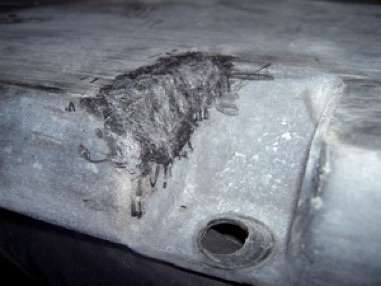
You can use a small upholstery flat iron to
smooth out the “stitches” for a cleaner look.
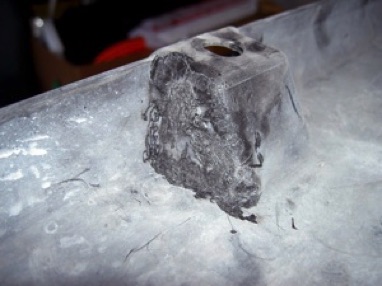
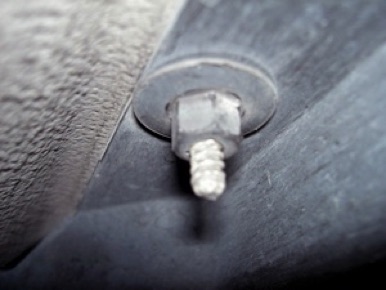
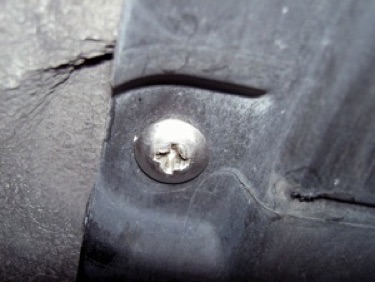
Normally the panels are held in place with 10 mm
plastic nuts crewed into existing studs secured to
the bottom of the vehicle.
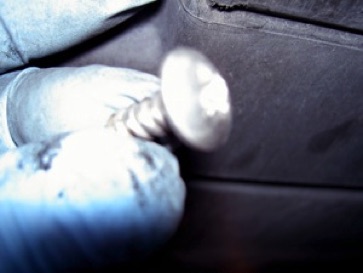
Sometimes these studs are missing so I use an
oversized stainless steel screw to hold the panel in place.
Happy Boxstering,

REPAIRS
Repair broken underpanels